Installation and Design resources
Everything you need to get started with a UTS-2 installation
Drawing Downloads
Start designing and planning for an installation with our complete drawings and technical datasheets
UTS-2 Routing Diagram - PDF + DXF
Surface Brand Approvals - Cosentino, Neolith, Laminam etc
Multi-Charger Connection and Wiring Diagram
USB-C cables can be extended up to 4.5m (~15ft) and reduced to 1m (~3ft) for wiring a multi-charger install.
check list
Before any installation please ensure:
- Your surface is between our 8-12mm (0.31-0.5″) thickness specification
- If you have a phone case, check it is flat and does not contain any metal, centrally located magnets, card holders, pop sockets, kickstands
- The surface you are mounting the charger is non-metallic, clean and flat.
- The installation area is within 1.5m (4′ 11″) of your power outlet. (if you require an extension cable, USB-C cable up to 5m (16′ 4″) can be used and are sold separately)
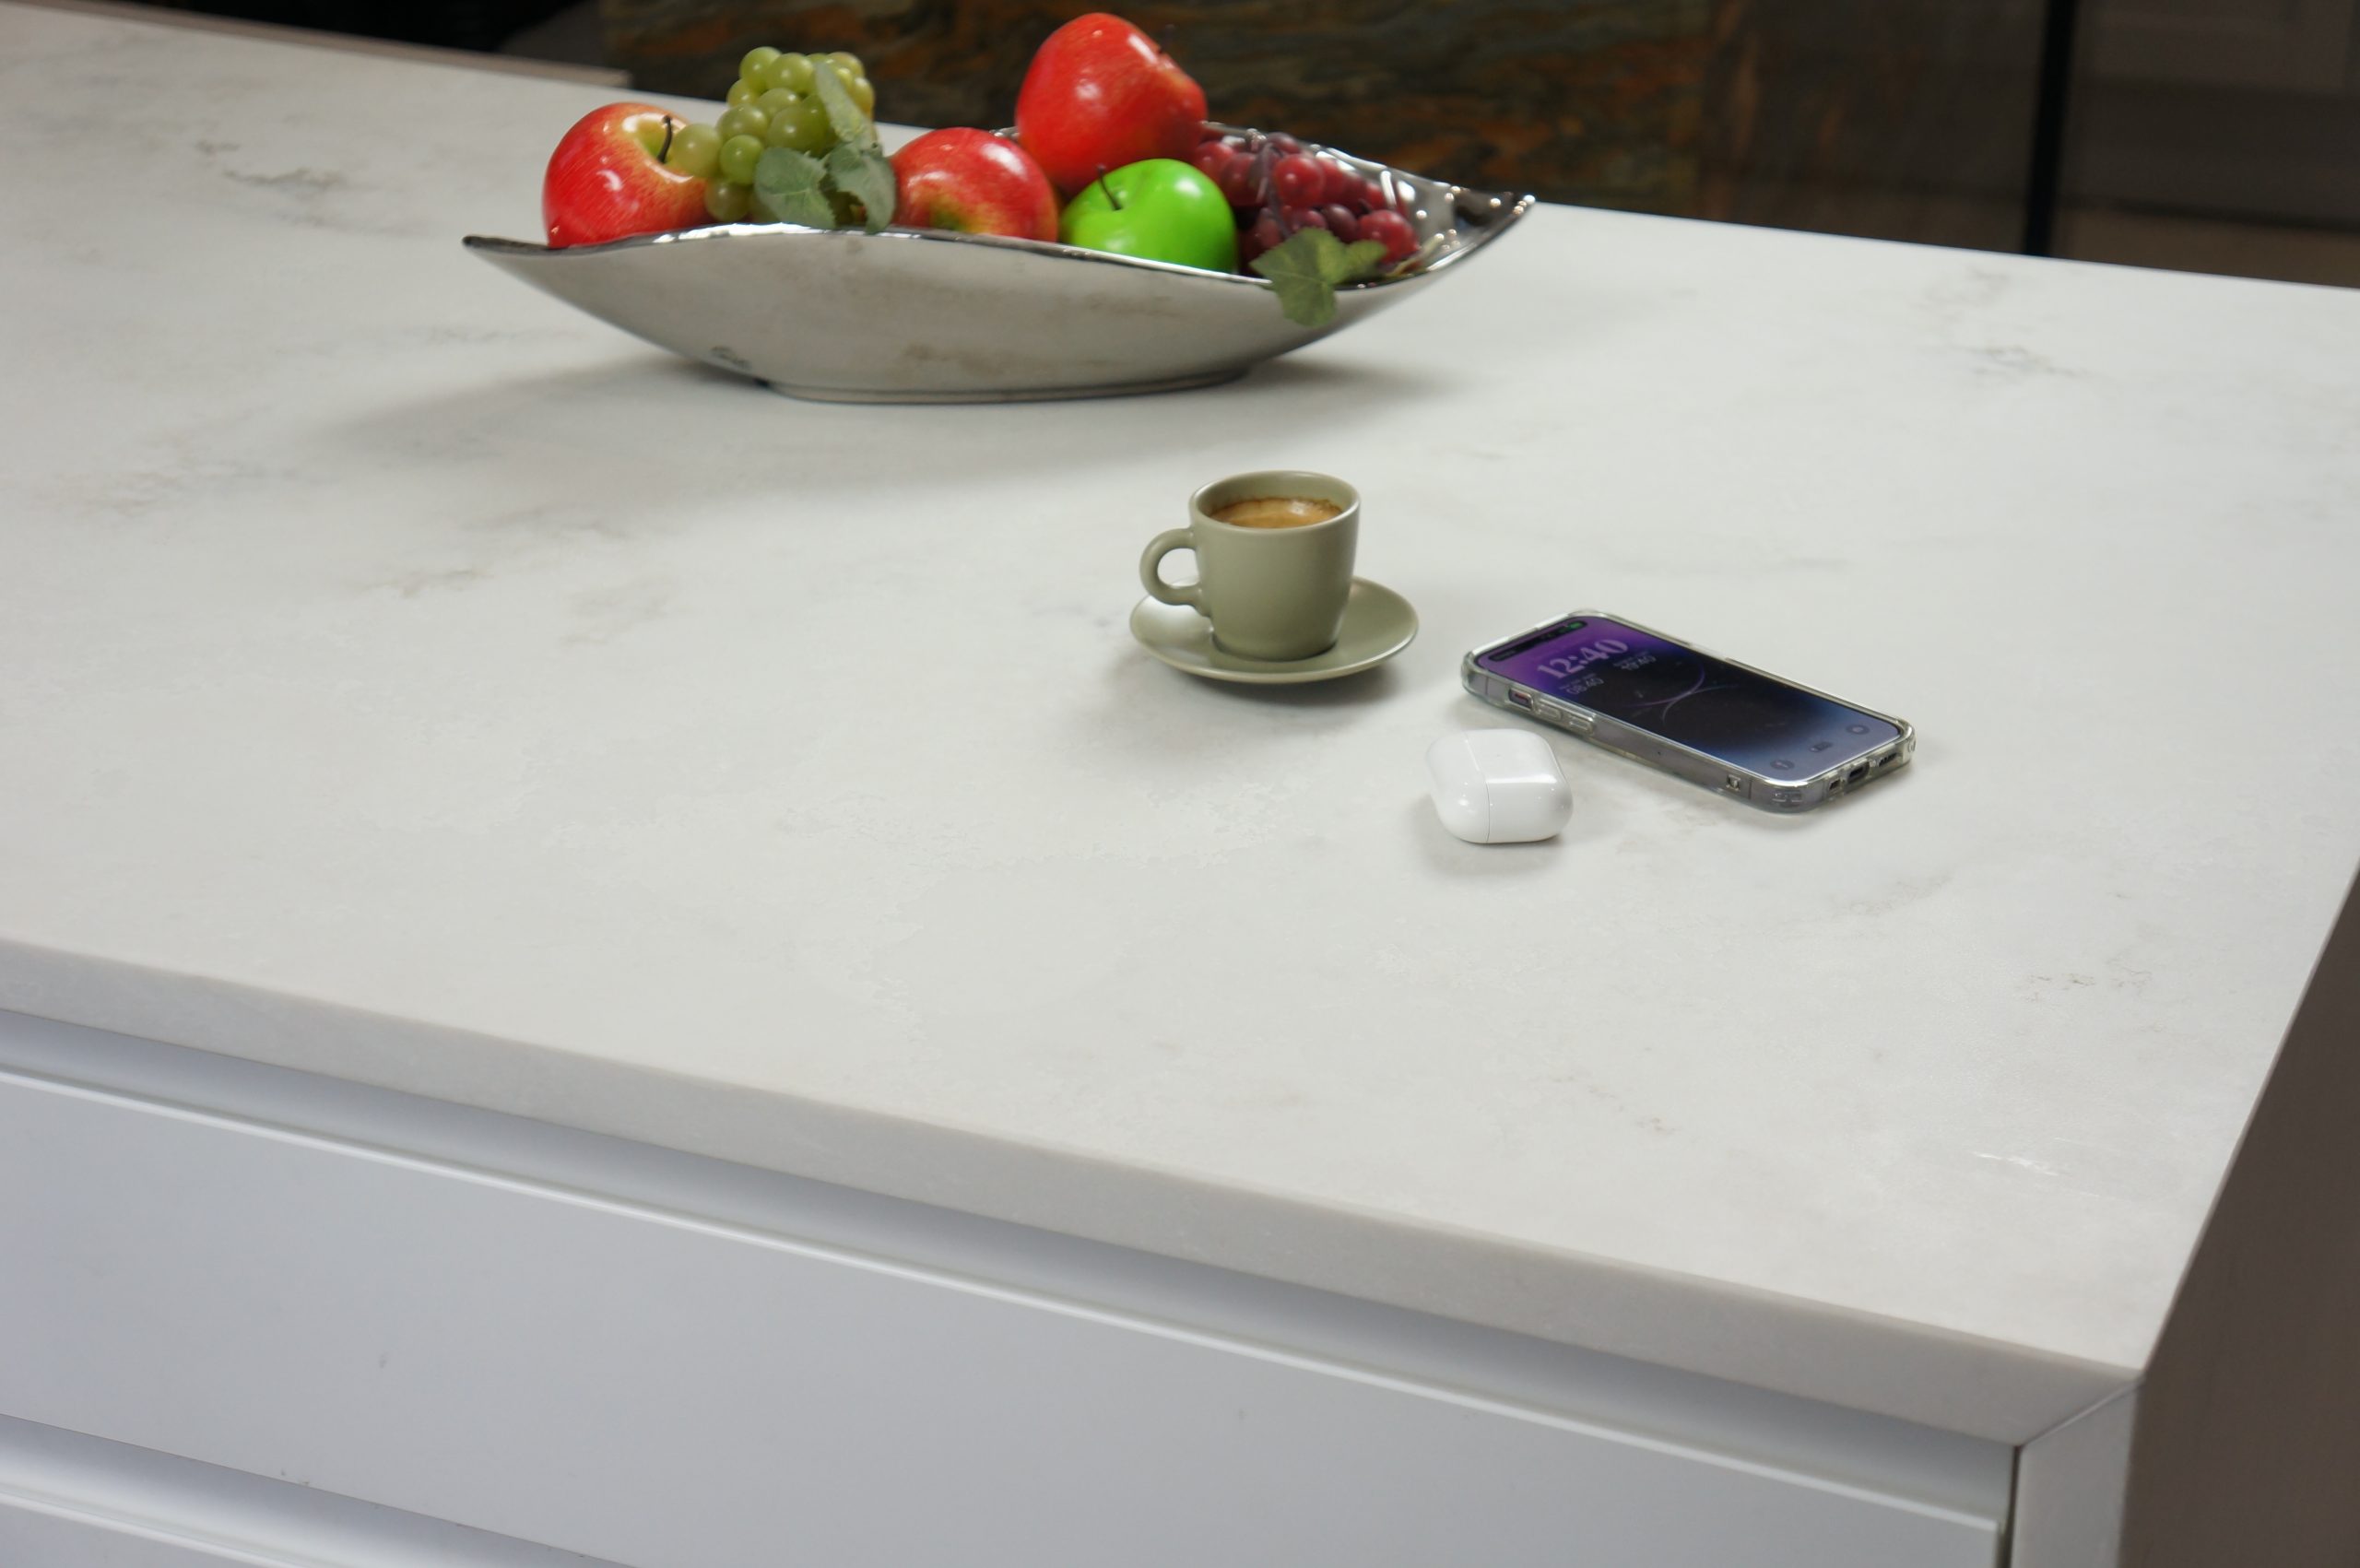
Wireless charging countertop Installation Example
A step by guide that can be applied to all UTS-2 installations – in this example it’s a 3cm quartz countertop
Stone Fabrication Example
Kew Labs has built on feedback of previous product working directly with fabricators on UTS-2 to develop a charger that is quicker and safer to fabricate compared to competitor solutions.
Recommended Tooling – Diamond Tipped routing bit
Connect multiple chargers
a larger UTS-2 installation requiring multiple UTS-2 chargers can easily be connected together using USB-C power hubs systems (sold separately).
Each unit requires a minimum 12V 1.67A (20W) output to function correctly.
For example – connecting 3 chargers to a power hub would a require a minimum 60W USB-C power hub with each port having at least 20W USB-C power.